The Risks and Rewards of Experimental Photography
On the Edge of Loosing Memories and Finding a New Look With Provia 100F
8 min read by Dmitri.Published on .

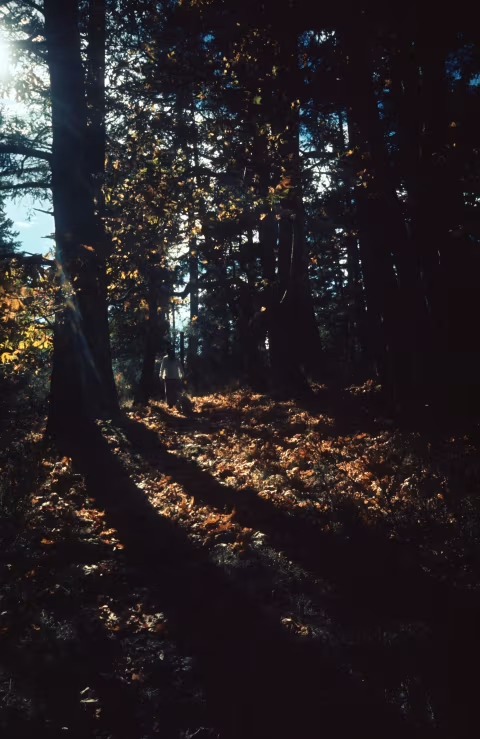
I like to do things differently. Like baking a working camera, or shooting HP5 at ISO 100,000. Unfortunately, experiments often fail.
Failure can be a painful experience. An important photo or the entire roll ruined by a technicality. In fact, despite the ubiquity of lab services and all-auto point-and-shoot cameras, any type of film photography can be considered an experimental pursuit in today’s context — those who shoot it never know whether the image will come out.
I’ve ruined a lot of my photos in the past decade with a film camera, yet failures don’t all feel the same.
I have a wall filled with blurry, improperly exposed, and all kinds of “broken” Polaroid and Instax frames. Though I wish all of them had turned out, the frames are neat playthings that are still useful even if all they show is a solid colour.
I’ve (embarrassingly recently) “shot” 40 frames of nothing when I didn’t load my film properly — and that’s a travesty. Some of my rolls still went straight into the trash even after I exposed them well because my experiments didn’t work out, or due to other camera-related issues, like when my point-and-shoot camera’s autofocus failed on every single frame of my very important wedding event film!
Clearly, failures that yield nothing are the worst. There’s little to gain from non-existing photos other than the lesson on what not to do — and that’s not even guaranteed, as I occasionally repeat my mistakes.
Thankfully, failures on film are non-binary. They can be a disaster, a useful result, or even an enhanced vision and a discovery.
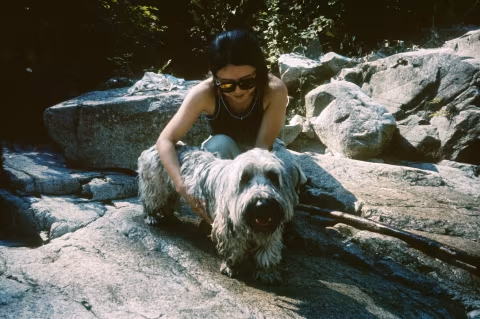
The severity of the failure is, of course, subjective. For example, when I pulled out my roll of Provia 100F from the tank, I was immediately concerned about how dense it looked:
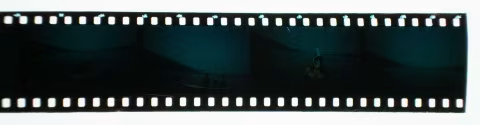
I felt better once I realized that most images are recoverable, but that didn’t come until later.
The technical issue this time was that the bleach did not fully clear the film (I was developing via C-41 reversal, an experimental process slide film using colour-negative chemicals with a black-and-white developer). It was likely not heated properly, which caused the positives to look dense and blue. The initial scans looked very dark — thankfully, there was still a lot of information in those images which I was able to brighten sufficiently with curves and colour balance tools in my image editor.
I used Nikon SUPER COOLSCAN 5000ED, set to 16-bit TIFF output, combined with film Q’s histogram stretching, as a first pass to remove out-of-range blacks. I then used Photoshop to further brighten and balance the images.
One of the nicest things about Provia 100F is that its shadows are silky-smooth. There’s almost no noise in there. Because of that, the rest of the image can be made to look brighter without causing issues in the darkest areas. Crushed shadows may still look solid black if the development or the exposure is off, but they aren’t distractingly fuzzy (which is typically the case on other films).
There is quality loss, of course. A properly processed Provia 100F would render more details and cause fewer colour shifts. I had to do work to make those images visually acceptable, whereas scanning slide film should be easy.
With quality loss, however, the images took on a bold Kodachrome-like look that I think paired very well with the characteristic softness of the Snapic A1’s fixed-aperture coated glass lens.
Could I have edited a properly processed Provia to make it look like the results I got after the failure? Possibly, but that’s not guaranteed, as digital image manipulation has its limits, regardless of how powerful the software may be. Also, I may have never considered applying this particular look.
Right now, I’m just happy that the images work, that their content is compelling, and that the feedback I’ve gotten so far suggests that someone other than me definitely likes them. They called my results “cinematic.”
The stark shadows and colour shifts, combined with the wide 25mm lens, must’ve contributed to the contrasty, warm look seen in Hitchcock’s films like North by Northwest and Rear Window.
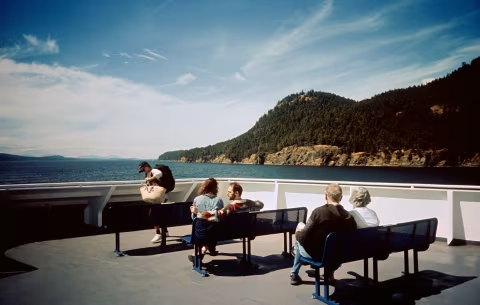
I suppose reframing technical issues as hallmarks of some of the highest-acclaimed cinematography is daft. Though it would be unreasonable to deny that I (and probably you, too) chose to shoot film because it looks this way. Thus, while it’s fair for me to feel upset at unexpectedly lo-fi results, I should probably also be thankful that the images are behaving exactly as my medium of choice intends them to, particularly when pushed to its limits.
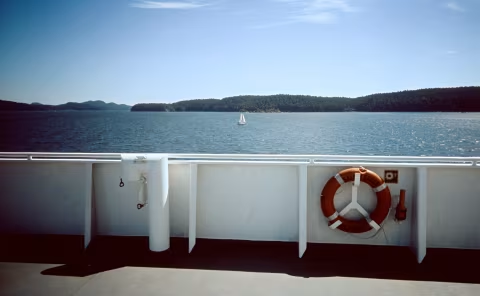
Aside from that look, which serendipitously manifested in my frames once I began recovering the colours, I’ve also come across some completely unexpected hue shifts that were somewhat independent of my digital workflow. The photo below was taken on a hazy day when the nearby forest fires greyed the blue Vancouver skies. But instead of haze, I got a bubblegum blue: