How to Develop C-41 at Room Temperature
A Tested “Stand” Development Recipe for Colour-Negative Film
6 min read by Dmitri.Published on . Updated on .

Usually, colour-negative film and all the chemicals involved in its development have to be heated up to 39℃/102℉ and then agitated every thirty seconds. This article shares the recipe and the results of a modified C-41 process that works at room temperature.
Heating the chemicals requires tools and space, such as a sous vide and a water bath. For me, that means coordinating with my partner about bathroom usage. Being able to do this on our balcony instead, without being tethered to a wall socket, is a huge help. Plus, not having to do any agitation frees me up to take a break or step away and work on other things around the house.
In this guide: Does developing C-41 film at room temperature change its look? C-41 “Stand” Recipe — times, temperatures, and techniques. Stand development calculator. Support this blog & get premium features with GOLD memberships!
✪ Note: The stand development process takes about two hours to complete.
All samples in this article were scanned with Nikon SUPER COOLSCAN 5000ED and inverted with film Q. No colour corrections were applied (inversions are done via histogram stretching).
Does developing C-41 film at room temperature change its look?
Yes.
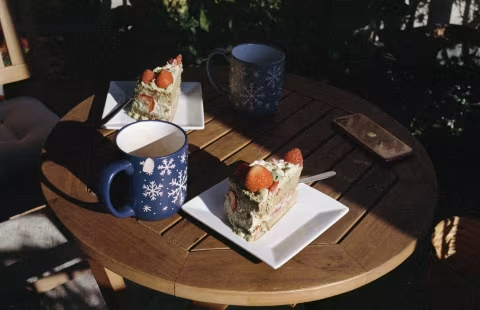
I’ve tested Fujifilm 400 (made in the US), Fujifilm Superia Premium (made in Japan), Ilfocolor 400 (made in Germany), and Lucky C400 (made in China) films, all of which showed reduced saturation.
Stand development does not seem to affect contrast, however. None of the films I tested showed any reduction in contrast or sharpness, which felt a little unexpected, as pull-development and lowering the development temperature typically reduce contrast in colour-negative film. This is doubly surprising as stand development in black-and-white film is known to reduce contrast.
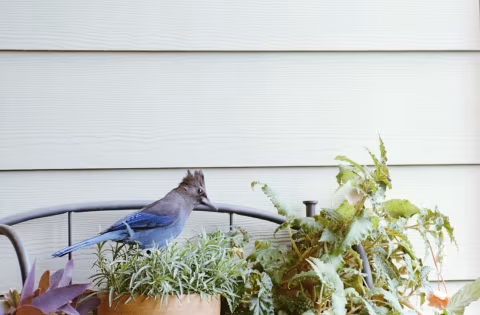
The reduced saturation might be the best-case tradeoff here, as it’s fairly easy to manipulate in digital workflows. The amounts of saturation lost across the films I’ve tested are small enough to be restored without noticeable degradation in quality.
While there may be cases where the loss of saturation is undesirable, I found that its reduction via the stand development method made colour correction easier on several occasions. (It’s easy to add moderate amounts of saturation to film scans, but going the other way in a controlled manner could be quite difficult.)
For example, I relied on stand development to help me control the stark blue noise in the deep shadows of the new Lucky C400 film, which is otherwise very difficult to edit out. While that didn’t solve all the problems with this film, it gave me more control over the colour shifts.

So far, the results (reduced saturation, stable contrast) are the same across the four films I’ve tried. Because this process uses standard chemistry, just on a different timescale, I’d expect this to hold for all films made for the C-41 process.
However, I will continue testing more films and adding samples to this article as time allows. I’m also curious about push- and pull-development, as well as the semi-stand process. Lots of possibilities!